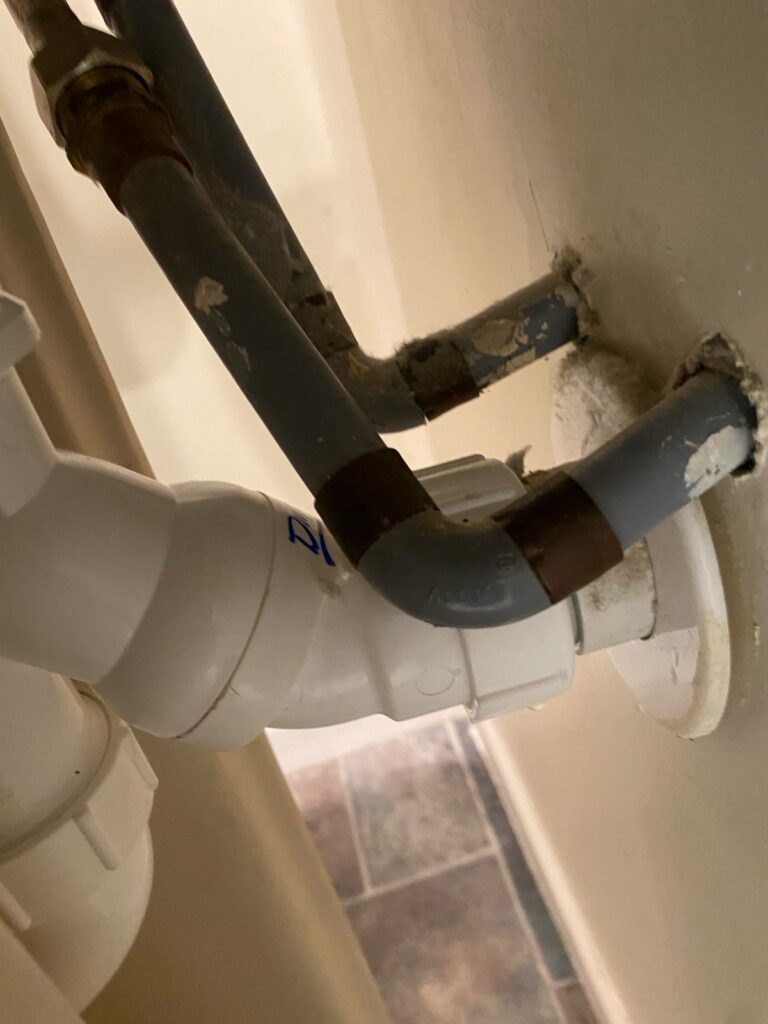
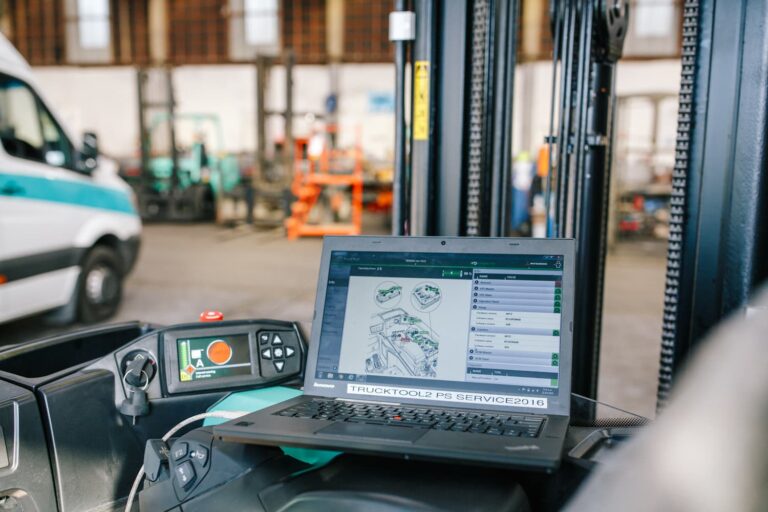
Before-and-after project photography is a powerful visual storytelling tool that allows tradespeople to showcase their skills and the dramatic transformations they bring to their projects.
Whether you’re a builder, electrician, plumber, painter, house washing expert or any other tradesperson, mastering the art of capturing compelling before-and-after shots can significantly enhance your professional portfolio, marketing materials, and social media presence and is one of the most important marketing tips we can give you on running a successful business as a Tradie.
This comprehensive guide will explore the techniques and tips to help you excel in before-and-after project photography.
Planning for Great Shots: Getting Ready
Scouting the Location: Start by checking out where your project is happening. Look around to find the best spots to take pictures from. You want to capture the project’s most essential parts.
Making the Space Neat: Before taking any photos, ensure the area where you’re working is clean and tidy. Get rid of any messy stuff that might distract from your work.
Choosing the Right Time: It’s essential to take your photos when the lighting is just right. The “golden hour,” which happens just after the sun comes up or before it goes down, gives off a warm and soft light. This kind of light can make your pictures look really nice. So plan your photo session during these times.
Essential Equipment: Tools of the Trade
Choosing the Right Camera: You don’t need a super fancy camera. Even a good smartphone with settings you can adjust can work well. But a pro camera gives you more control over your pictures if you can.
Picking the Right Lenses: Different lenses do different jobs. A wide-angle lens is great if you want to show the whole project. A macro lens works best for small details, like patterns or textures.
Using a Strong Tripod: Use a tripod to keep your pictures clear and sharp. It stops the camera from shaking and helps you take magnificent shots.
Creating Great Pictures: Telling a Story with Images
Before Picture: Take the “before” photo from the same spot where you’ll take the “after” photo. A before image helps people see the significant change more clearly when comparing the two.
Rule of Thirds: Using lines, imagine your picture divided into nine equal parts. Try to put the essential things along these lines. It makes your photo look balanced and interesting.
Guiding Lines: Look for lines in the scene, like roads or walls, that naturally point toward what you want to show. These lines help lead the viewer’s eyes to the main part of your photo.
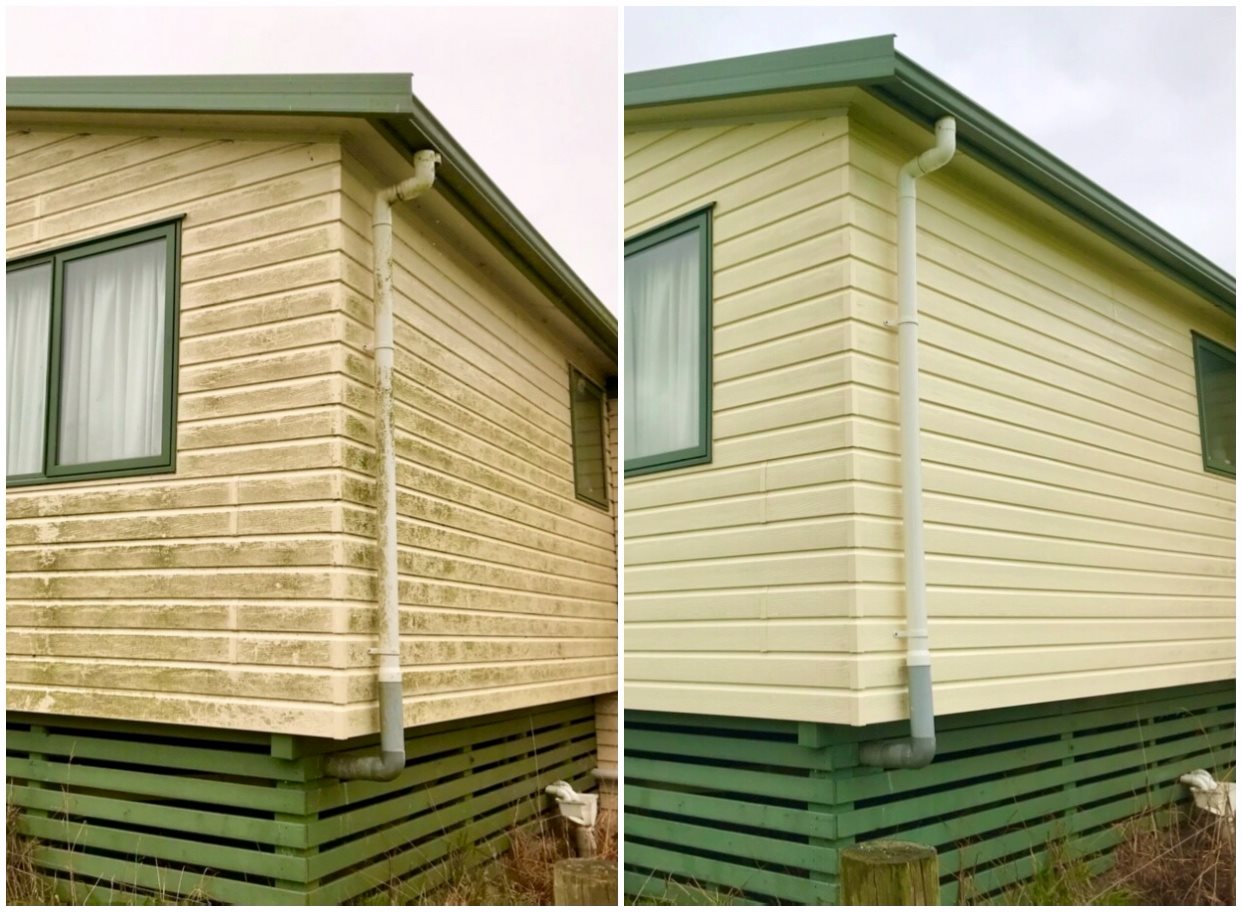
Mastering Light: Elevating Your Photos with Effective Lighting
Embracing Natural Light: Make the most of the soft and diffused natural light during the golden hour, which happens right after sunrise or just before sunset. This kind of light is gentle and evens out the illumination across your subject.
Using Fill Flash: When you’re working in really bright sunlight, it can create strong shadows that hide essential details. To fix this, use fill flash, a low-intensity burst of light from your camera, to balance out those shadows and reveal more of your subject’s features.
Leveraging Artificial Lighting: In situations where natural light isn’t enough, like indoor or low-light settings, trades like plumbers or electricians, for example, can use artificial lighting instead. Softboxes, which are special tools that soften and diffuse light, can help you achieve a consistent and professional look in your photos. Artificial light is beneficial for showcasing the actual quality of your work.
Perfecting Your Images: Enhancing Your Photos Through Post-Processing
Using Editing Software: Take advantage of photo editing tools like Adobe Lightroom or Photoshop. These programs allow you to make your images look even better by adjusting various elements.
Enhancing Colors: Make sure the colours in your photos match the natural look of your work. Adjust the colour balance and saturation to ensure your images accurately represent your craftsmanship.
Fine-Tuning Exposure: Sometimes, parts of your photos might be too dark or too bright. With exposure adjustments, you can balance these out and bring out important details in both the “before” and “after” images.
Creating a Consistent Look: When editing, keep a similar style across all your before-and-after photos. This consistency gives your portfolio a professional and polished appearance, making it more appealing to those who view your work.
In Conclusion: Unveiling the Art of Before-and-After Project Photography
Mastering the skill of before-and-after project photography is an intricate process that involves careful planning, the right gear, a keen eye for composition, and a solid grasp of lighting techniques. By diligently applying the insights and strategies shared in this comprehensive guide, you’ll be well-prepared to capture compelling visual stories that showcase your exceptional skills and portray the remarkable transformations you bring to your projects.
With time, effort, and a commitment to honing your craft, your proficiency in before-and-after project photography will evolve into a valuable asset. This asset will serve you well in attracting new clients, amplifying your brand’s presence, and solidifying your reputation as a tradesperson of exceptional talent. Every photograph you capture narrates a tale of advancement and achievement, casting a spotlight on your distinct capabilities and craftsmanship.
As you embark on your journey to master before-and-after project photography, remember that each snapshot encapsulates a narrative of progress, a visual testament to your dedication and expertise. Keep refining your skills, experimenting with new techniques, and letting your passion for your trade shine through your captivating images.
Get your business noticed by creating an online directory listing. Listings are FREE and you can create as many as you need.
- Get found by locals
